

When Chris and I first got married, we excitedly unpacked boxes and set up furniture in our living room. It felt like playing house. It was our very own place! We could arrange and decorate it to our own tastes. Ah the independence!
We didn’t care that our hand-me-down couches had tears and stains. We didn’t mind that our end table was an old nightstand someone had so graciously given us. We excitedly went to a local thrift store and purchased our own coffee table for $30. At the time that was a big purchase for us, and we loaded the piece with care. I added a few “homey” touches to the top of it, and ta-da! We had a living room.

I knew I wanted to repaint or at least re-stain the coffee table at some point, but with several moves and the arrival of a new baby, it got put on the back burner. Although the “style” of the coffee table is not something I would pick out for myself, I love that table. It holds such sentimental value for me. We made a home around this table!
 As I was trying to decide what I wanted to do with the piece, a quick look around Pinterest brought me to something called Milk Paint. I went to Miss Mustard Seed’s website and learned all I could about the product. I love all things old and distressed, so I was sold, and soon made a purchase.
When it came in the mail, I may or may not have done a happy dance.
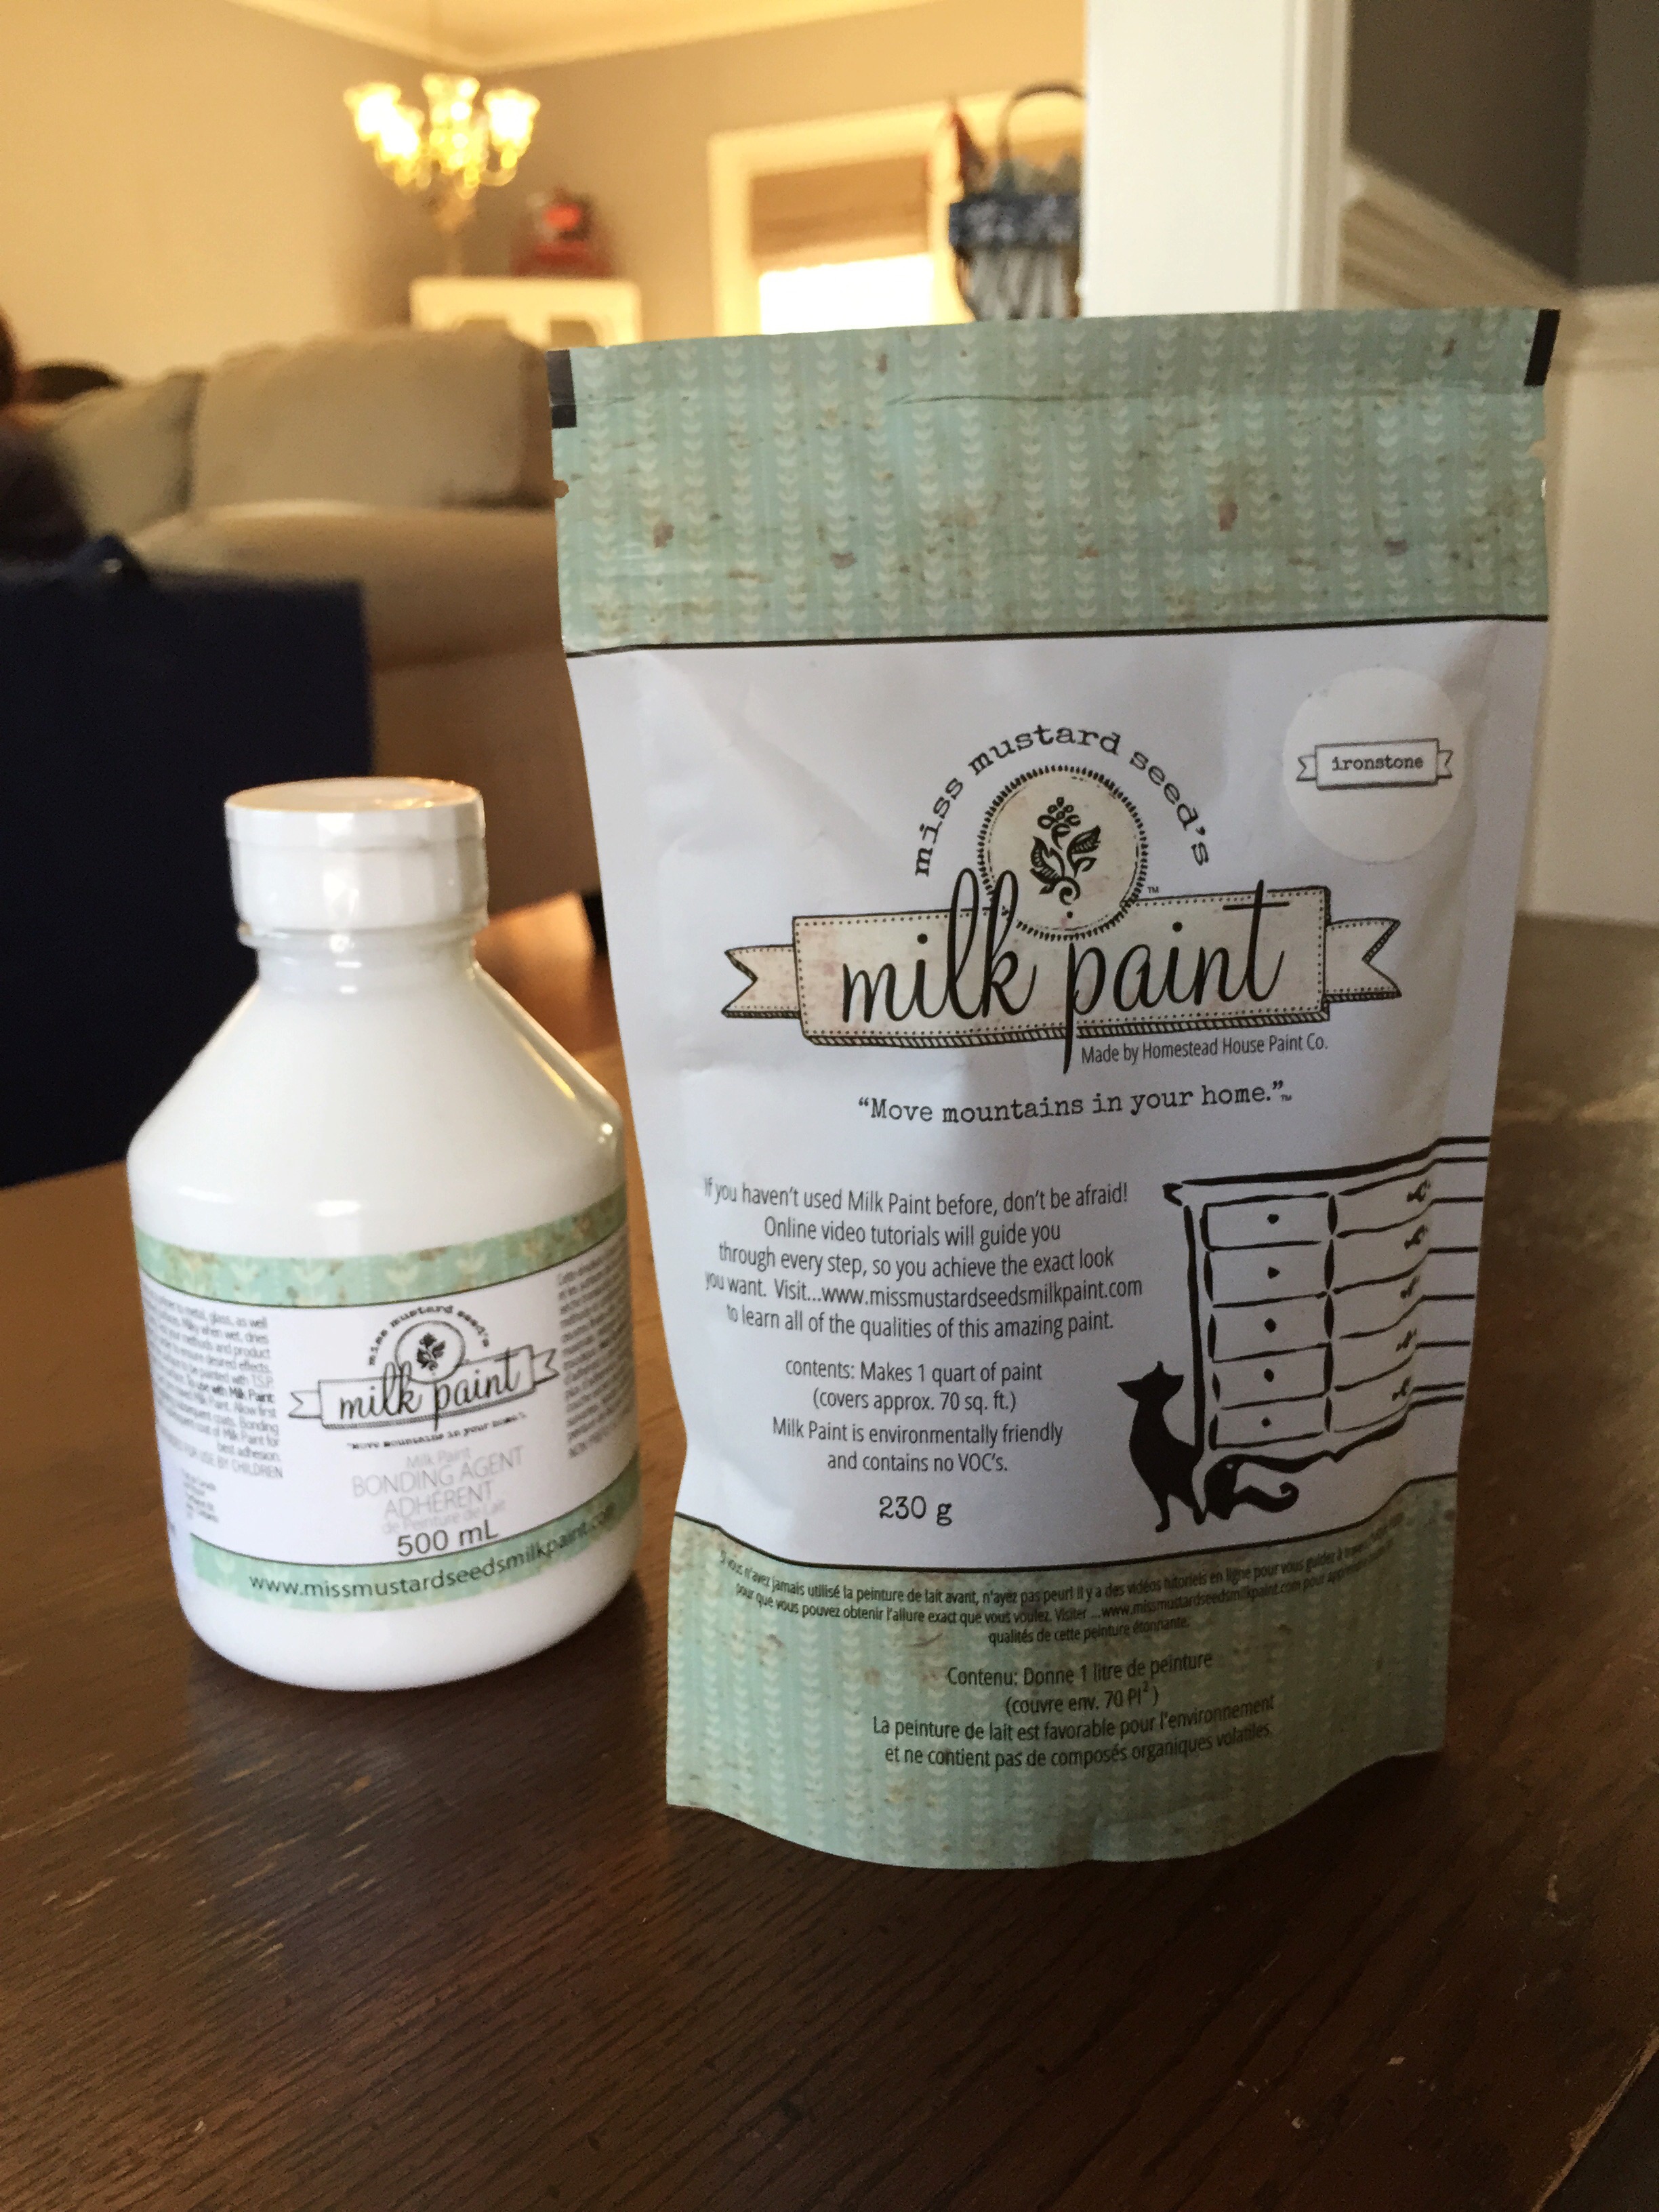 I ordered the bonding agent and the color Ironstone for this project. I thought the bonding agent sounded amazing, meaning I wouldn’t have to prep my piece by sanding off any other finished it had on it.
 I did run a piece of sandpaper across the top right before I painted, but only because there were several splintering pieces sticking up. But other than that, I did nothing to prep the table.
Mixing the milk paint was the hardest part for me. I used the mason jar approach that she demonstrated on her website, but I found that it didn’t mix well. It had a lot of clumps and a ton of air bubbles.
 As a result, the first coat had me freaking out. It bubbled and pooled and looked really uneven. I think if I would have let the paint sit for a little while before applying, it would have let some of the bubbles out of it, that would have helped. But the first coat looked awful.
 See what I mean? It looked streaky and blah. But I was determined to figure out what I was doing wrong, because on her video tutorials on her website, her paint went on a lot smoother and thicker. I think she mixed more powder in with hers.
I’ve done several other pieces since this one and I now mix it with a whisk attachment on my drill, and add a little more powder than water. It’s much better now! So I just think I did it wrong this first time. Newbie. (ha)
So after letting the first coat dry, I added another coat and it covered pretty well. When that coat had dried, I began the distressing.
 I used a regular grade sandpaper, and just went around the edges and legs of the table. I loved the way the milk paint chipped and came off with the sandpaper. It gives it a really neat finish.
 Now when I look at this piece, not only do I smile because of the flood of memories it holds, but now I’m like “Dang. That looks good!” (ha)
And seriously, I am a milk paint convert. My husband is having to hold me back because I want to PAINT ALL THE THINGS. So you’ll be seeing more projects soon, I can assure you.

I love this! We have a hand me down coffee table like your ‘before’ picture and I love it, but I put my french press on it and now the top is ruined 😦 This looks like a great way to pretty it up!! Love the idea!
LikeLike
What top coat did you use and is it holding up and is it yellowing the white at all? Thank you…it looks fabulous.
LikeLike